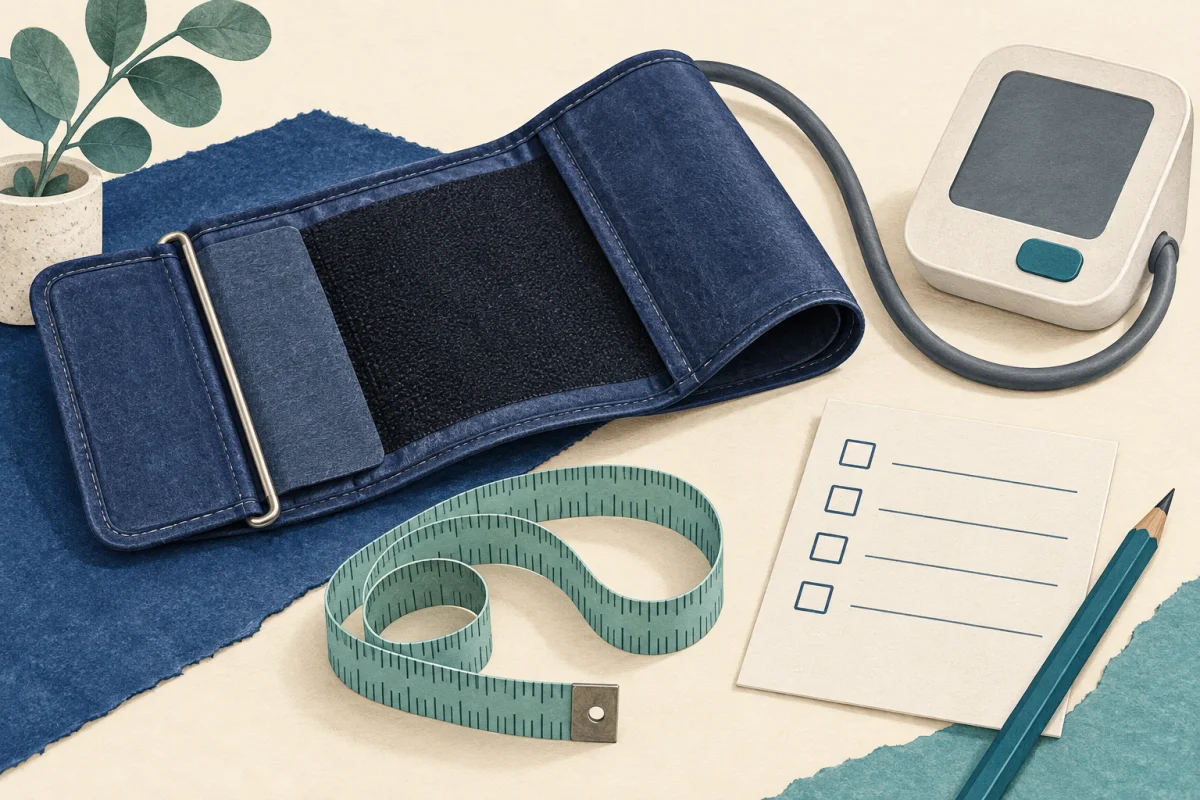
Compare your measured upper-arm circumference with the cuff’s stated range and confirm the cuff is intended for that monitor. Ask a healthcare professional to check fit and technique; the size label alone is not enough.
Check the equipment before comparing numbers
A log can faithfully record an inaccurate measurement. Before treating a change in readings as a change in your health, make sure the equipment and setup can be reviewed. The American Heart Association recommends a validated automatic upper-arm monitor and a cuff that fits your arm. An incorrect cuff size can produce inaccurate readings.
This is an equipment checklist, not a method for correcting blood pressure numbers. Do not add or subtract a fixed amount to compensate for a cuff you suspect is wrong. Keep the original readings and note the concern.
Read the range, not just “standard” or “large”
Measure around your upper arm using the method in the manufacturer’s instructions, or ask your pharmacist or clinician to do it. Find the arm-circumference range printed on the cuff or in its documentation. Compare the same units: a number in centimeters cannot be compared directly with a range in inches.
The invented examples below demonstrate the comparison only. They are not universal cuff-size categories. A cuff being within a stated range still does not establish correct placement, device validation or suitability for a particular person.
| Measured arm | Stated cuff range | What the comparison tells you |
|---|---|---|
| 33 cm | 22–32 cm | Outside this example range; seek the appropriate compatible cuff |
| 33 cm | 22–42 cm | Within the stated range; fit and setup still need checking |
| Measurement uncertain | Either range | Do not choose based on a guessed measurement |
If a cuff is described online as “large” but its documentation says 22–32 cm, an arm measured at 33 cm is outside that stated range. The marketing name does not change the range.
Identify the exact monitor and cuff
Write the manufacturer and model from the device label, not just the brand on the box. Keep the cuff model or part number and its printed range with it. If you are replacing a cuff, confirm compatibility with the manufacturer or a qualified professional; a connector fitting into a socket is not evidence that the combination has been validated.
The AHA points readers to ValidateBP for validated device options and recommends professional advice when uncertain. Check the exact model, rather than assuming every device from a listed brand is covered. For a child or someone who is pregnant, ask whether the device is validated for that population.
- Monitor manufacturer and exact model
- Cuff identifier and stated arm range
- Your arm measurement, date and unit
- Whether the cuff came with this monitor or was replaced
- Any fit difficulty, error message or change in setup
Take a short equipment note to your appointment
Bring the monitor and cuff to an appointment as advised by your healthcare professional. The AHA recommends having technique and agreement with office equipment checked. Keep the instructions available so you can point to the cuff-range information or an unfamiliar symbol.
A practical question is: “My arm measured about 33 cm. This is the range on my cuff and this is my monitor model. Can you check the size, placement and how I take a reading?” If you cannot apply the cuff comfortably or independently, mention that rather than repeatedly forcing the same setup.
Equipment note: “Monitor: [exact model]. Cuff: [identifier and range]. Arm circumference: [measurement and unit], checked [date]. Concern: cuff difficult to position. Readings recorded before this check are retained and marked equipment fit uncertain.”
Keep a visible boundary when equipment changes
If a professional helps you change the cuff or monitor, put the date of the change in your log. Do not silently replace old readings or claim that a difference proves treatment has worked. Someone reviewing the record needs to know which setup produced which values.
Use the measurement preparation checklist before recording and the paired-reading guide for the log format. Blood Pressure Tracker° offers manual recording and reports; an app cannot verify cuff fit or measure pressure by itself.
Keep clinical decisions separate from equipment checks
Follow your clinician’s measurement schedule and care plan. Do not stop or change prescribed medicine because you found a cuff issue. If you have severe or concerning symptoms, seek appropriate care rather than waiting to finish this checklist.
The AHA’s linked home-monitoring guidance includes urgent instructions for very high readings and symptoms. Keep the instructions from your own care team accessible alongside the free blood pressure log. This article does not provide a personal target or certify a monitor.
Sources & checks
- American Heart Association: home blood pressure monitoring ↗
Measurement technique, recording repeated readings, and when to seek urgent care.
- Current App Store listing: Blood Pressure Tracker° ↗
Checks the companion app’s stated features and its limitations; not independent evidence of health benefits.
- American Heart Association: cuff fit and arm circumference ↗
Arm-circumference measurement and cuff fit matter. No prevalence estimates or universal correction factor used.
Checked against these sources on 2026-09-29. Examples and worksheets are original illustrations, not patient records, clinical tests or evidence of treatment effectiveness. This is educational content, not individual medical advice or a clinician-reviewed treatment plan.
Our editorial process · Suggest a correction